Heads up! We may use affiliate links in this post. You'll never pay more, but we might earn a small commission if you buy - thanks for supporting us! See our full disclosure here.
Looking for a natural way to boost your skin’s radiance without breaking the bank? You’re in the right place!
Today, we’re exploring five easy DIY face masks for glowing skin that you can make with ingredients you probably already have at home.
We all want healthy, glowing skin, but expensive skincare products and treatments aren’t always the answer.
Sometimes, the best solutions are the simplest ones. That’s where these DIY face masks come in handy.


In this post, we’ll walk you through five mask recipes that cater to different skin needs. Whether you’re dealing with dullness, an uneven texture, or just want to give your skin some extra love, there’s a mask here for you.
These recipes use common kitchen ingredients known for their skin-loving properties. Not only are they effective, but they’re also gentle on your skin and your purse.
Plus, there’s something satisfying about creating your own skincare treatments, isn’t there?
Ready? Let’s get started!
5 DIY Glowing Skin Mask Recipes
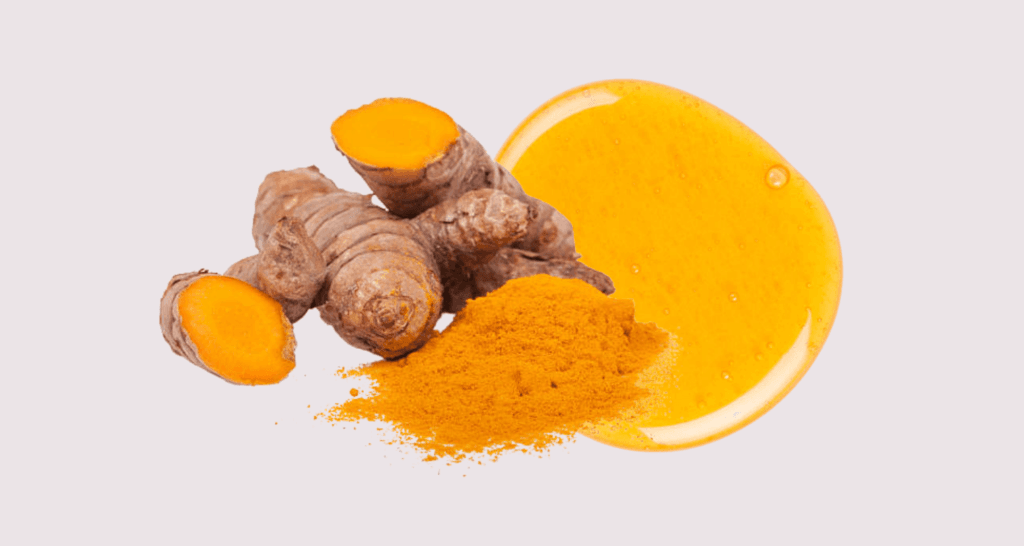
1. Turmeric + Honey


Turmeric is hands-down one of the best ingredients to have in any skin-brightening face mask, so you could put some in any of these recipes if you wanted to.
Turmeric is a sunset-yellow spice that has anti-inflammatory, antimicrobial, and antioxidant properties that can improve skin issues like hyperpigmentation, acne, dark spots and blemishes.
Honey will be showing up a lot in this list as well. Honey is a sticky humectant, that locks in moisture and will help to bind all the ingredients together. It contains lots of antioxidants and is anti-fungal, anti-septic and anti-bacterial.
What You Need:
Half a teaspoon of turmeric powder
One tablespoon of honey
Instructions:
Mix the turmeric and honey together into a smooth paste.
Apply to your face with your fingers or a brush, and leave it on for 10-15 minutes.
- Rinse with warm water and a washcloth and follow with a hydrating moisturiser.
RELATED: 10 DIY Honey Facial Mask Recipes for Irresistibly Radiant Skin
YOU MIGHT LIKE THESE TOO:
- Sea Moss Benefits: The Ocean’s Secret To Glowing Skin
- The 10-Step Korean Skincare Routine: Your Guide to Achieving Radiant, Glowing Skin
- Struggling With Blackheads? Here Are 3 Ways To Get Rid Of Them Naturally At Home
2. Honey + Orange + Banana


Oranges are packed with vitamin C that will brighten your face and even out your skin tone. Its antioxidant properties also help to flush out toxins and fight off infections.
Bananas are actually one of the world’s best superfoods, the benefits of eating them are plenty, but applying them directly to the skin has many benefits too.
The vitamin A present in bananas restores moisture and repairs dry and dull skin, while vitamin C brightens up the skin to reveal a youthful glow.
What You Need:
Half of one ripe banana
One tablespoon of orange juice
One tablespoon of honey
Instructions:
In a bowl, mash the banana, squeeze in fresh orange juice and add honey and mix well.
Apply the mask to your face and leave it on for 15 minutes.
Wash off with warm water and a washcloth and follow with a hydrating moisturiser.
3. Acai Berry + Honey + Olive Oil


Acai berry powder is delicious to put in a smoothie by the way!
It is a grape-like superfood packed with antioxidants, minerals and vitamins A, C and E which fight free radicals, brighten the skin and keep it hydrated.
Olive oil means your skin gets to absorb lots of vitamins, nutrients and moisture, this gentle face mask might be what’s been missing from your natural dewy glow skin regimen.
What You Need:
One tablespoon of acai berry powder
One tablespoon of olive oil
One teaspoon of honey
Instructions:
Mix the acai berry powder with the olive oil and honey.
Stir well and apply to clean skin for 10-15 minutes.
Rinse with warm water and a washcloth to remove and follow with a hydrating moisturiser.
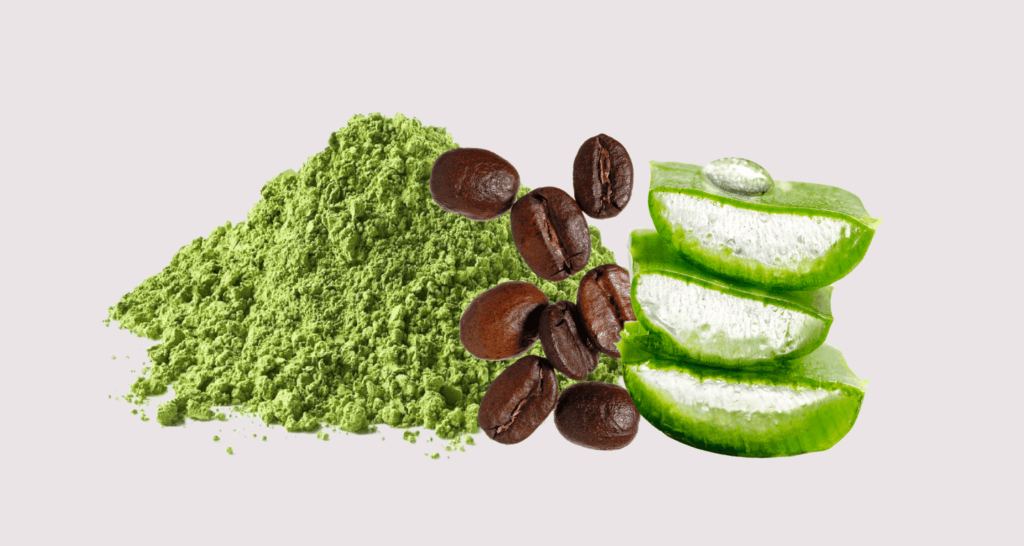
4. Matcha Powder + Coffee + Aloe Vera


Matcha, whose origins can be traced back to 8th century China, has incredible benefits for the body as well as the skin.
Matcha contains very high levels of epigallocatechin gallate (EGCG) which helps to even out skin tone and reduce inflammation.
It also has anti-bacterial properties that fight against breakouts, and the anti-oxidants increase skin elasticity.
Even if you’re not that keen on coffee as your mid-morning pick-me-up, you’ll love the effect it has on your skin. It is a natural exfoliant packed with antioxidants and caffeic acid that smooths, nourishes and brightens the skin, and slows down signs of ageing.
Aloe vera has remained one of the most popular natural skincare ingredients for good reason. It has antioxidant, antibacterial and anti-inflammatory properties that will soothe and heal the skin from sunburn, fade dark spots, stimulate collagen production and hydrate the skin.
What You Need:
One tablespoon of matcha powder
Two tablespoons of ground coffee
Two tablespoons of aloe vera gel
Instructions:
Mix the matcha, ground coffee and aloe vera gel together in a bowl to form a spreadable paste.
Apply to the face and leave for 15 minutes.
Rinse with warm water and a washcloth and follow with a hydrating moisturiser.
5. Lemon + Honey + Coconut Water


When you think of lemons, you probably think of their acidity. The citric acid in lemons is known as a natural astringent which helps to control sebum production and tighten pores, but it also removes dead skin cells, clears blemishes, reduces acne scars and brightens the skin too.
The high vitamin C content in lemons can also protect the skin from free radicals and increase collagen production.
Coconut is known for being a powerhouse of electrolytes for your body when your drink it.
As for its use when applied topically to the skin, coconut water stimulates collagen production due to its vitamin C, K and A content and its antioxidant properties soften the skin and make it glow.
What You Need:
1/2 teaspoon of lemon juice
2 tablespoons of honey
1 tablespoon of coconut water
Instructions:
Combine the coconut water, honey, and fresh lemon juice into a bowl and mix.
Apply to your skin and leave it for 10 minutes.
Rinse it off with warm water, pat dry and moisturise.
How To Maximise The Benefits of DIY Face Masks
- Start with clean skin – Before applying any mask, wash your face thoroughly to remove makeup, dirt, and oils. This allows the mask’s ingredients to penetrate more effectively.
- Exfoliate gently – Consider exfoliating before applying your mask to remove dead skin cells. This helps the mask work more efficiently on fresh skin.
- Steam your face – Open your pores by steaming your face or applying a warm, damp towel for a few minutes before masking.
- Apply evenly – Use clean fingers or a brush to apply the mask in an even layer, avoiding the eye area.
- Timing matters – Follow the recommended time for each mask. Leaving it on too long can potentially irritate your skin.
- Relax while masking – Use this time to unwind. Stress reduction can also benefit your skin.
- Rinse thoroughly – Use lukewarm water to gently rinse off the mask completely.
- Follow with moisturiser – After removing the mask, apply your regular moisturiser to lock in hydration.
- Frequency – Most masks can be used 1-2 times a week, but listen to your skin and adjust as needed.
- Patch test new ingredients – If you’re trying a new ingredient, do a patch test first to check for any adverse reactions.
- Store properly – If you make extra, store your DIY mask in an airtight container in the refrigerator and use within a few days.
- Customise for your skin type – Adjust ingredients based on your skin’s needs. For example, add honey for extra hydration or lemon for brightening.
Remember, consistency is key. Regular use of appropriate masks can lead to noticeable improvements in your skin’s appearance and health over time.
FAQs
Q. How often should I use a DIY face mask?
A. Most DIY face masks can be used 1-2 times a week. However, this can vary depending on your skin type and the ingredients used. If you have sensitive skin, start with once a week and adjust as needed.
Q. Are DIY face masks as effective as store-bought ones?
A. DIY masks can be very effective when made with the right ingredients for your skin type. They often contain fewer preservatives and additives than store-bought masks. However, commercial products may have more precisely formulated and concentrated active ingredients.
Q. Can I use these masks if I have sensitive skin?
A. Yes, but be cautious. Always do a patch test first. Choose gentle ingredients like oatmeal, honey, or aloe vera. Avoid potentially irritating ingredients like citrus fruits or essential oils if you have sensitive skin.
Q. How long do homemade face masks last?
A. Most DIY masks should be used immediately for best results. If you make extra, store it in an airtight container in the refrigerator and use it within 3-5 days. Masks containing perishable ingredients like yoghurt or avocado should be used right away.
Q. What are the best ingredients for glowing skin?
A. Some great ingredients for glowing skin include honey (moisturising), yoghurt (exfoliating), turmeric (brightening), avocado (nourishing), and papaya (enzyme exfoliation). Vitamin C-rich ingredients like strawberries can also help brighten the skin.
Q. Can I combine different ingredients to create my own mask?
A. Absolutely! Experimenting with different combinations can help you find what works best for your skin. Just be sure to research each ingredient to ensure they’re safe to use together and appropriate for your skin type.
Q. Are there any ingredients I should avoid in DIY face masks?
A. Avoid using anything you’re allergic to. Be cautious with potentially irritating ingredients like lemon juice, baking soda, or cinnamon. Also, avoid using raw eggs due to the risk of salmonella.
Q. How do I know which mask is right for my skin type?
A. Choose ingredients based on your skin’s needs. For oily skin, look for clay-based masks. For dry skin, use hydrating ingredients like avocado or honey. For combination skin, you might use different masks on different areas of your face.
Q. Can DIY face masks help with acne?
A. Yes, certain DIY masks can help with acne. Ingredients like honey (antibacterial), tea tree oil (antimicrobial), and clay (oil-absorbing) can be beneficial. However, for persistent acne, it’s best to consult a dermatologist.
Q. Is it normal for my skin to feel tingly when using a DIY mask?
A. A slight tingling can be normal with some ingredients, like those with mild exfoliating properties. However, if you experience burning, itching, or significant discomfort, remove the mask immediately and rinse your face. This could indicate an allergic reaction or irritation.
Remember, everyone’s skin is different. What works for one person may not work for another, so it’s important to pay attention to how your skin reacts and adjust your skincare routine accordingly.


